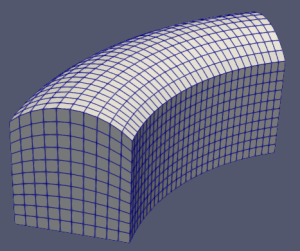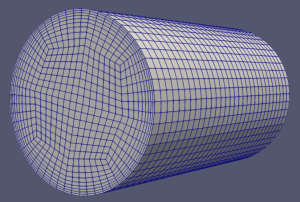
IMPORTANT! classy_blocks have been massively improved but this article hasn’t. Please refer to readme in repository for most up-to-date information and examples.
blockMesh: pros and cons
blockMesh is a great tool for creating simple and quick meshes. It also creates structured meshes and offers total control over its cells, which snappyHexMesh (and many other) doesn’t. If you’re low on RAM or CPU power, you must be extra careful when creating your mesh and the smallest meshes (by cell count) may well be created with blockMesh.
But for anything other than the simplest geometries, blockMesh’s text files quickly become unmanageable. Mostly because they become a giant database of incomprehensible numbers that a human can’t interpret.
blockMesh with Classy Classes
Writing a blockMesh dictionary takes patience, concentration, precision, etc. Alas, I lack most of those. Also if I didn’t lack any of those, it would still take eternity to make a single parametric study of anything.
Luckily, I do not lack a little Python knowledge. I decided to use it to automatize this paper > calculator > excel > manual number copying. In many cases m4 could be used but python has numpy and scipy and that’s the killer argument, over and out.
The easiest way to implement it is by creating blockMesh-aware objects, hence classy.
Usage
- Create a python file that calculates the important points of the model. Also calculate the arc point for edges, if needed. This file could also import points from somewhere else, for instance (measurements, etc.).
- Create a
classy_blocks.Mesh()object - For each block:
- Add vertices with
Mesh.add_vertices() - Add edge points with
mesh.add_edge() - Calculate number of cells and cell size
- Create block from the above vertices with
Mesh.add_block() - Set patches with
block.set_patches()
- Add vertices with
- Write the mesh with
mesh.write() - Run blockMesh from shell or from python file using
os.system().
You will see that there is no less code (at least for simpler geometries) but there are almost no manually typed numbers. After you have figured out the points, Python will take care of the meticulous chores.
Examples, code, everything else
Check out the github repository for other examples and code.
Also note that the geometry functions I wrote about in another blog post are added here because here’s where they are the most used.


